Gel nails are known for their durability, glossy finish, and long-lasting wear. Whether you're a seasoned nail technician or a DIY enthusiast, this step-by-step tutorial will guide you through the process of painting gel nails, ensuring a professional-looking manicure that stands the test of time. Let's get started!
Materials You'll Need:
- Gel nail polish in your desired color
- UV or LED nail lamp
- Nail file and buffer
- Nail cleanser or rubbing alcohol
- Nail primer (optional)
- Base coat
- Top coat
- Cuticle pusher and nippers
- Nail cleanser and lint-free wipes
- Orange stick or nail brush
- Nail tips (if using)
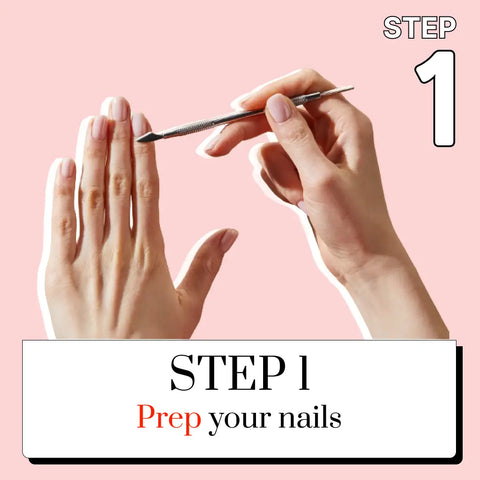
Step 1: Prep Your Nails Start by shaping and buffing your nails to your desired length and shape. Gently push back your cuticles using a cuticle pusher or orange stick. If you're using nail tips, glue them onto your natural nails now and trim them to your desired length.
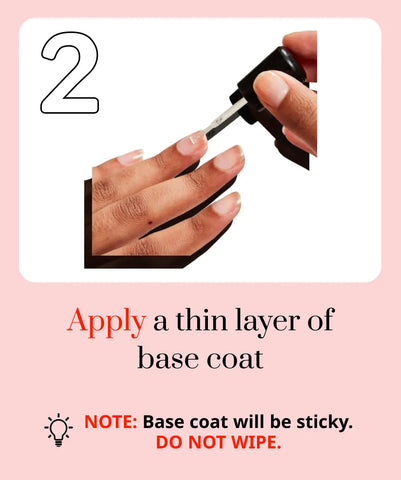
Step 2: Apply a Base Coat Apply a thin layer of gel base coat to your nails. Make sure to cap the free edge (the tip of your nail) to seal the gel. This step helps the gel polish adhere better and prevents chipping.
When it comes to choosing a base coat, I recommend two fantastic options from OPI: OPI Gel Color - Stay Classic Base Coat 001 and OPI Gel Color - Stay Strong Base Coat. Both of these products have their unique benefits and can help you achieve a professional, long-lasting manicure. Let’s dive into why I recommend these and the differences between them.
OPI Gel Color - Stay Classic Base Coat 001
This base coat is a staple for many professional nail technicians and DIY enthusiasts alike. Here’s why it’s a great choice:
- Durability: It creates a durable foundation for your gel polish, ensuring your manicure lasts up to 3 weeks without chipping.
- Quick Cure Time: It fully cures in just 30 seconds under an OPI LED Light, making your nails 100% dry and smudge-proof immediately after the application.
- Lightweight Feel: Despite its strong adhesion, it feels lightweight on your nails, providing a natural look and feel.
- Versatile Use: It’s suitable for healthy, hard, or brittle nails, making it a versatile option for various nail types (opi-us) (opi-us).

OPI Gel Color - Stay Classic Base Coat 001
$14.50Buy Now
Discover the perfect base coat to accentuate the true colors of your gel polish with OPI Gel Color - Stay Classic Base Coat 001. Achieve beautiful and vibrant colors that last with this professional-grade base coat that seals your polish and ensures a long-lasting, chip-resistant finish.
OPI Gel Color - Stay Strong Base Coat
If you’re looking for something that provides extra strength and resilience, the Stay Strong Base Coat might be your best bet:
- Enhanced Strength: This base coat is infused with calcium and a vitamin complex, providing 61% more strength to your natural nails. It’s perfect if your nails are prone to breaking or peeling.
- Long-lasting Wear: Like the Stay Classic version, it offers long-lasting adhesion and can keep your gel polish intact for up to 3 weeks.
- Protective Formula: It helps protect and strengthen weak and dry nails during the gel polish wear, ensuring they remain healthy and robust (opi-us) (Gel-Nails).

OPI Gel Color - Stay Strong Base Coat
$14.50Buy Now
Infused with Calcium and vitamin complex, Stay Strong GelColor Base Coat leaves nails feeling stronger during gel polish wear. GelColor gel nail polish base & top coats now feature white caps with texture and grip, so that salon professionals can easily identify and open them. The perfect gel nail polish base coat for oily, thin, soft, damaged, peeling or bendy nails.
Key Differences
- Strengthening Properties: The Stay Strong Base Coat has added ingredients like calcium and vitamins designed to strengthen your nails, whereas the Stay Classic Base Coat focuses more on providing a durable base for all nail types.
- Target Audience: Stay Strong is ideal for those with weaker nails needing extra reinforcement, while Stay Classic is versatile and suitable for a variety of nail conditions.
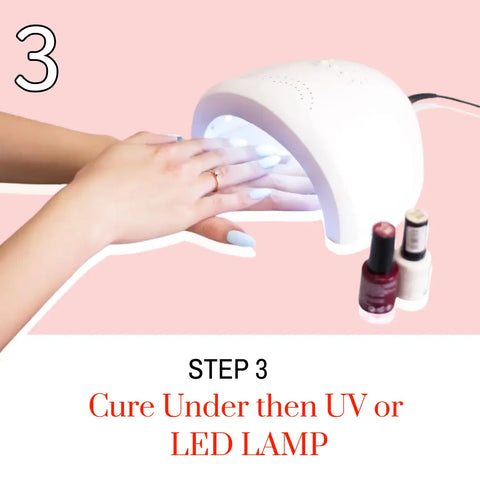
Step 3: Cure Under the UV or LED Lamp Place your hand under the UV or LED nail lamp and cure the base coat according to the manufacturer's instructions. Typically, it takes about 30 seconds to 1 minute to cure each layer, depending on your lamp's wattage.
If you're curious about whether a UV or LED lamp is better for curing gel polish, check out this comprehensive guide by Salons Direct. They dive deep into the pros and cons of each option, helping you make the best choice for your nail care routine. Don't miss out on this valuable information!
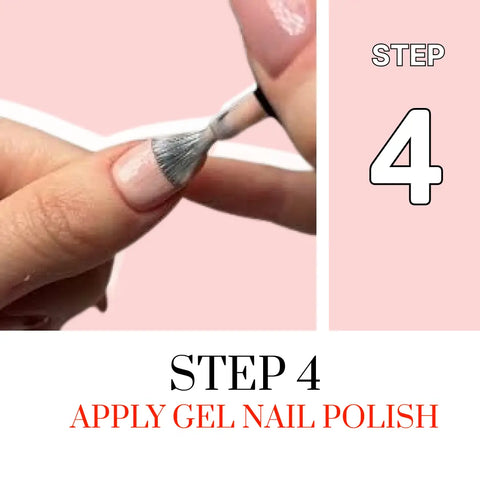
Step 4: Apply Gel Nail Polish Now it's time for the fun part – applying the gel nail polish! Start with a thin, even layer of your chosen color. Be precise and avoid getting polish on your skin or cuticles. If you do, use an orange stick or a nail brush dipped in nail cleanser to clean it up immediately.
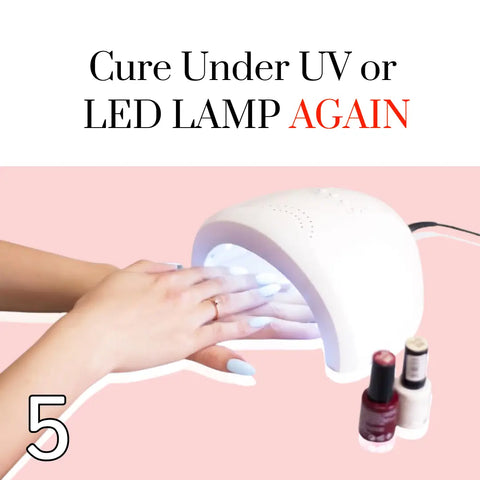
Step 5: Cure the First Layer Place your hand back under the lamp and cure the first layer of gel polish for the recommended time. Most gel polishes require 1-2 minutes of curing time.
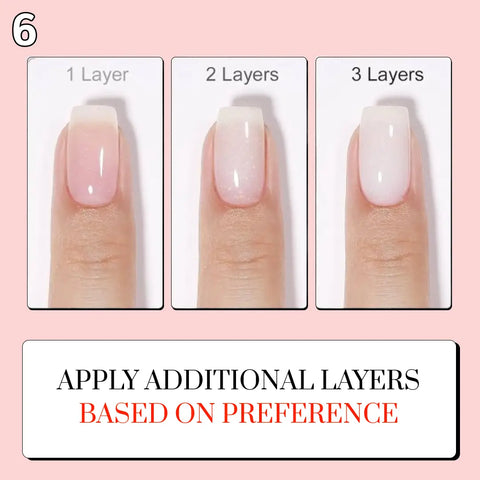
Step 6: Apply Additional Layers (Optional) Depending on the opacity of your chosen color, you may need to apply one or two more thin layers of gel polish. Cure each layer separately to ensure proper drying.
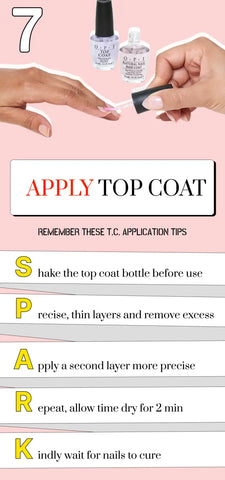
Step 7: Apply the Top Coat Once you're satisfied with the color, apply a thin layer of gel top coat to seal the polish and add that signature glossy finish. Again, cap the free edge of your nails.
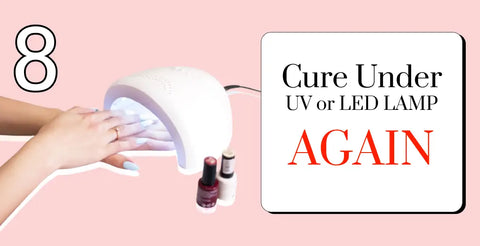
Step 8: Final Cure Place your hand under the lamp and cure the top coat for the recommended time. This step is crucial for a long-lasting, chip-free finish.
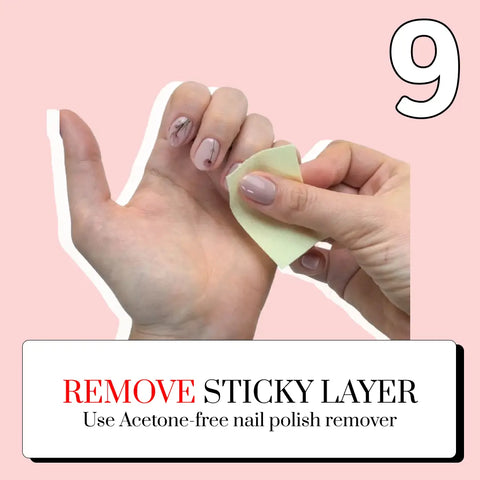
Step 9: Remove the Sticky Layer (Optional) Some gel polishes have a sticky residue after curing. If your gel polish requires it, use a lint-free wipe and nail cleanser or rubbing alcohol to gently remove the sticky layer and reveal your beautifully glossy nails.
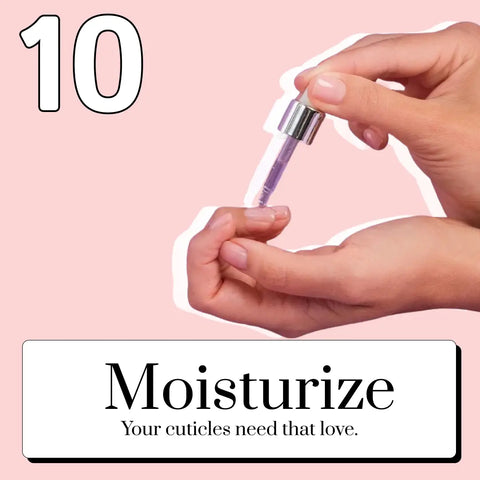
Step 10: Moisturize and Enjoy Finish off by moisturizing your cuticles and hands. Admire your stunning gel nails, and enjoy your long-lasting manicure!
Editor’s Choice: Favorite Gel Nail Creations from Instagram
Here are some stunning gel nail creations from Instagram that have caught our eye. These designs range from elegant and simple to bold and artistic, showcasing the versatility and creativity that gel nails can offer.
1. Matte Elegance
- Creator: @sassynailsbyevahausler
- Description: Matte pink nails with patterned gold and floral designs on the index fingers.
- Why We Love It:The combination of matte finish with delicate gold and floral accents brings a sophisticated yet charming look, perfect for both everyday wear and special occasions.
2. MAKEAR Gel&Go Marshmallow
- Creator: @n_adanails and @20luckynails
- Description: Marshmallow-colored gel nails with pink and gold floral wreaths on the ring fingers, complemented by pink nails on the outer fingers and thumb.
- Why We Love It: The soft marshmallow base paired with intricate floral wreaths adds a whimsical touch, making this design both fun and elegant.
3. Babie's Floral Fantasy
- Creator: @glossyglow_bycintia
- Description:Subtle flowers emanate from the tips of light violet-pink nails, holding a Barbie handbag.
- Why We Love It: The delicate floral details combined with the playful Barbie theme create a perfect blend of femininity and nostalgia, turning your nails into a lovely work of art.
4. Milky White Gel nails
- Creator: @houseofmanicures_
- Description:Milky white gel nails with a smooth and glossy finish.
- Why We Love It: The clean and crisp look of milky white nails offers a timeless and chic appearance, ideal for any season and occasion. The simplicity of this design is both modern and sophisticated.
Painting gel nails can seem intimidating at first, but with practice, you'll become a pro. Follow these steps and remember to take your time for a flawless finish that lasts. Experiment with colors, get creative with nail art, and enjoy the beauty of gel nails at your fingertips.


